In 2021 my wife was surfing Pinterest and had asked me if I could build a fireplace surround like the ones she found. In typical fashion, I said yes, of course.
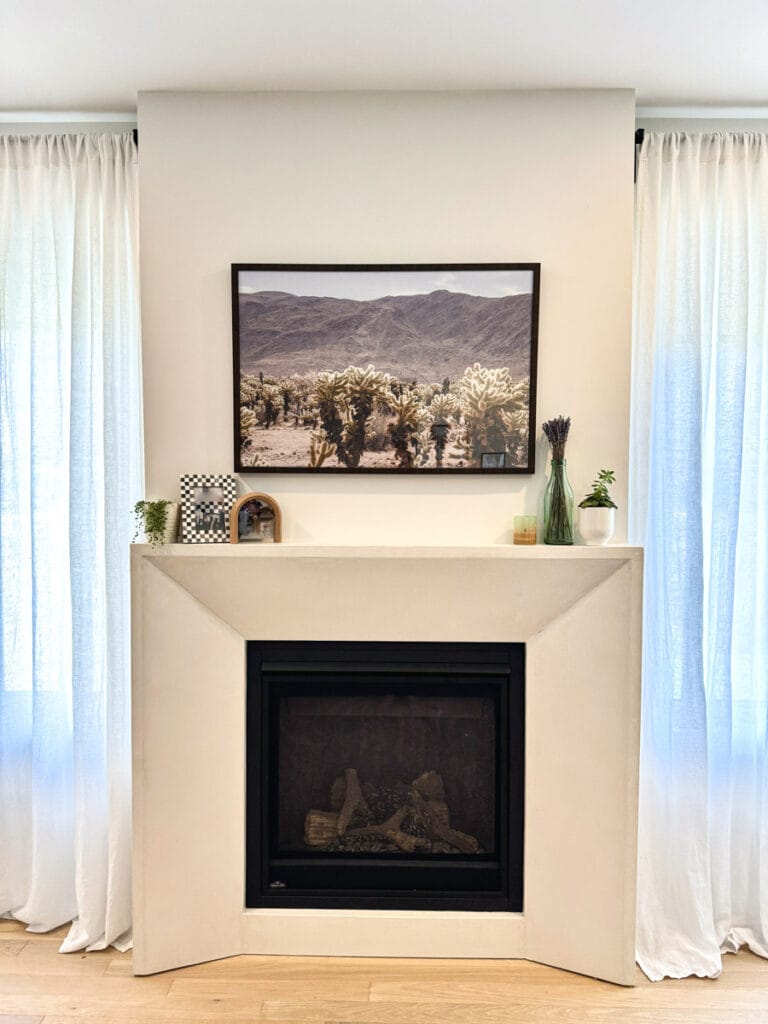
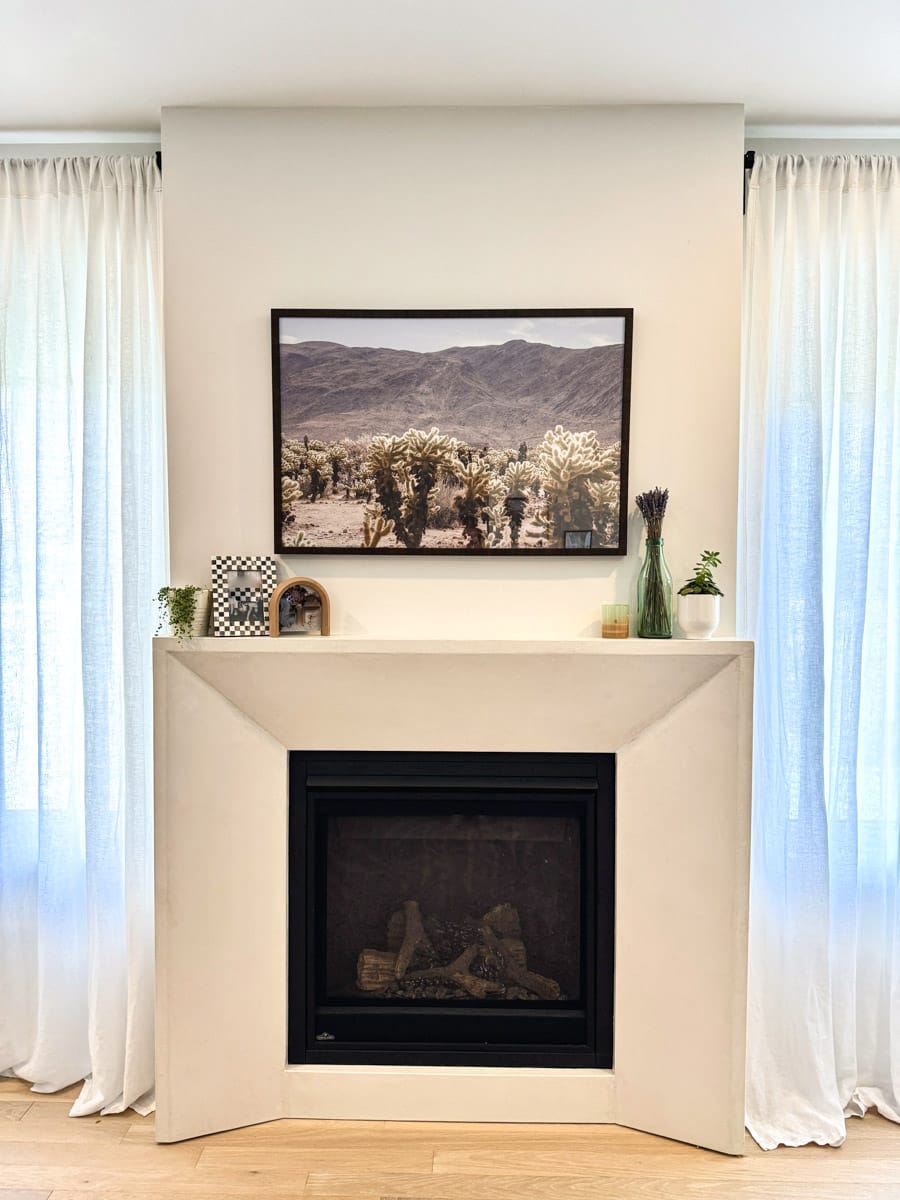
Fast forward to 2 years later, below is a result of what I had built, with some guidance and help from family and work colleagues of course.
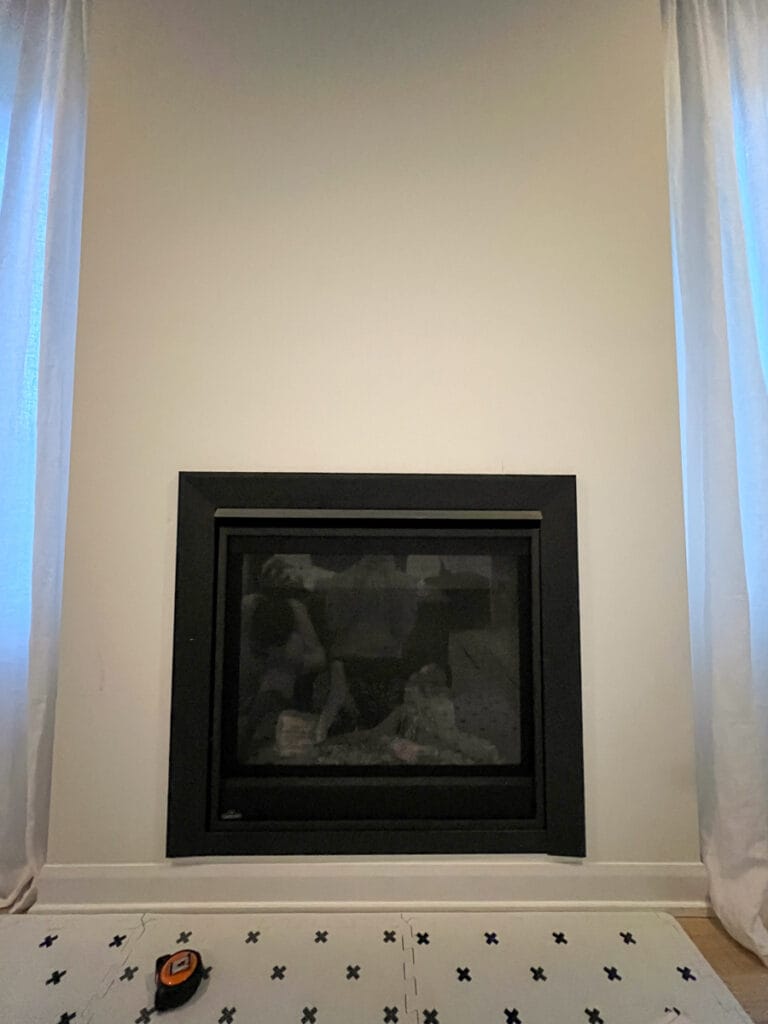
Fireplace before…
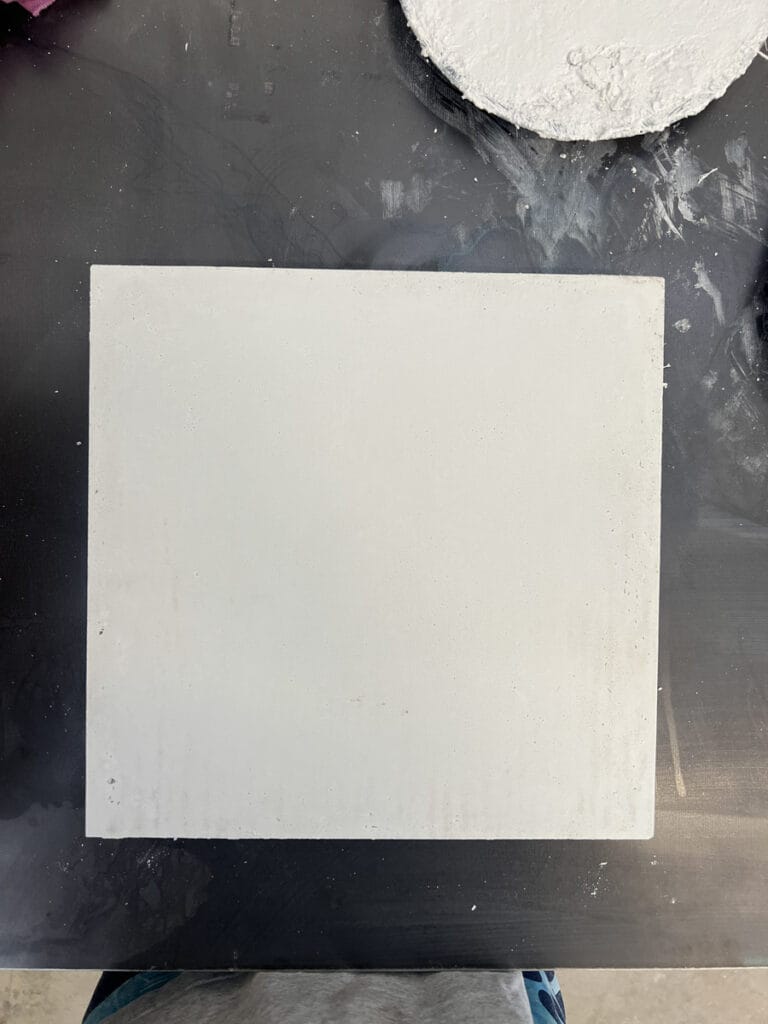
Approved sample – for colour and finish
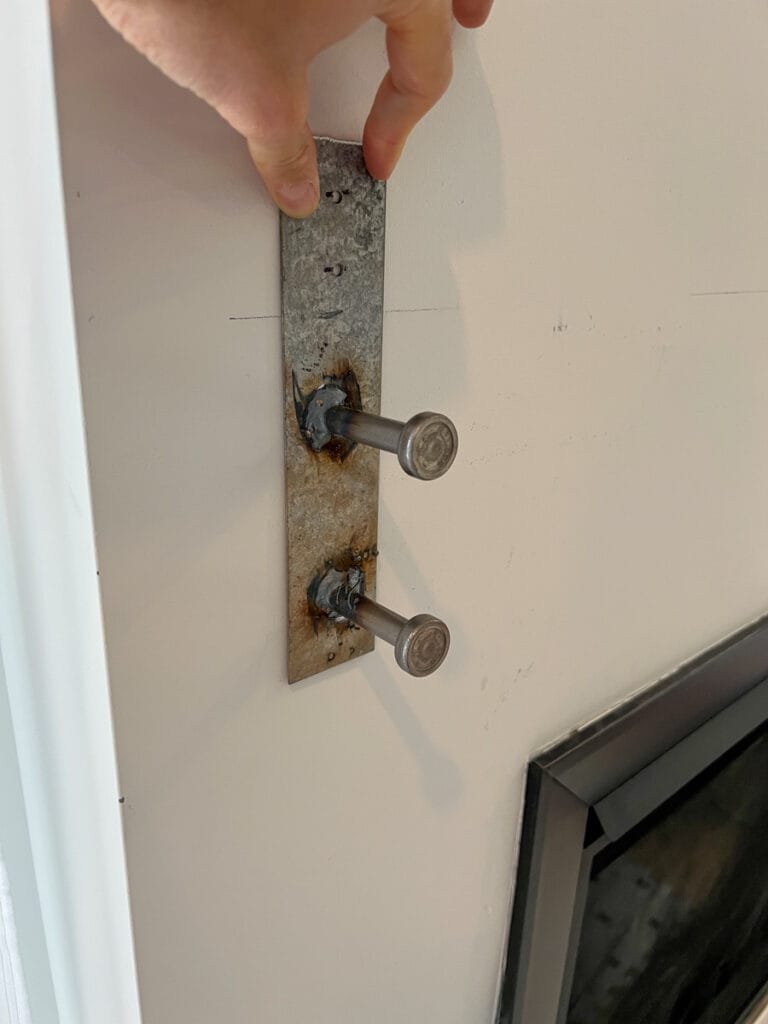
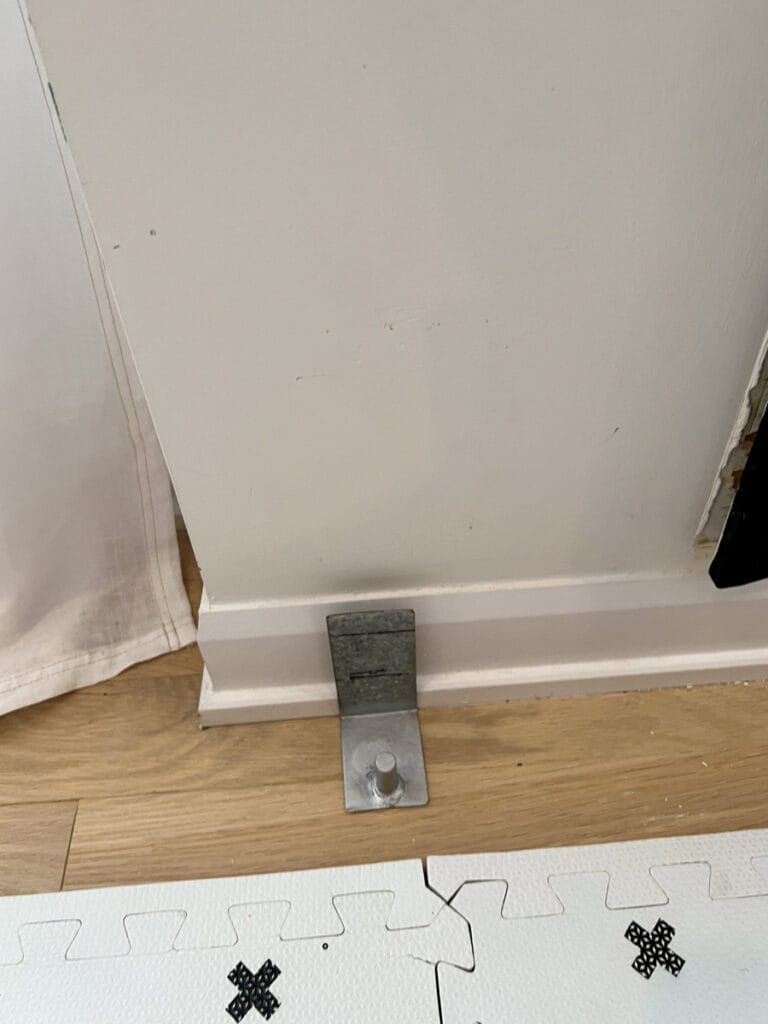
Top and bottom connections.
The day before the casting day, I weighed and prepared the materials.
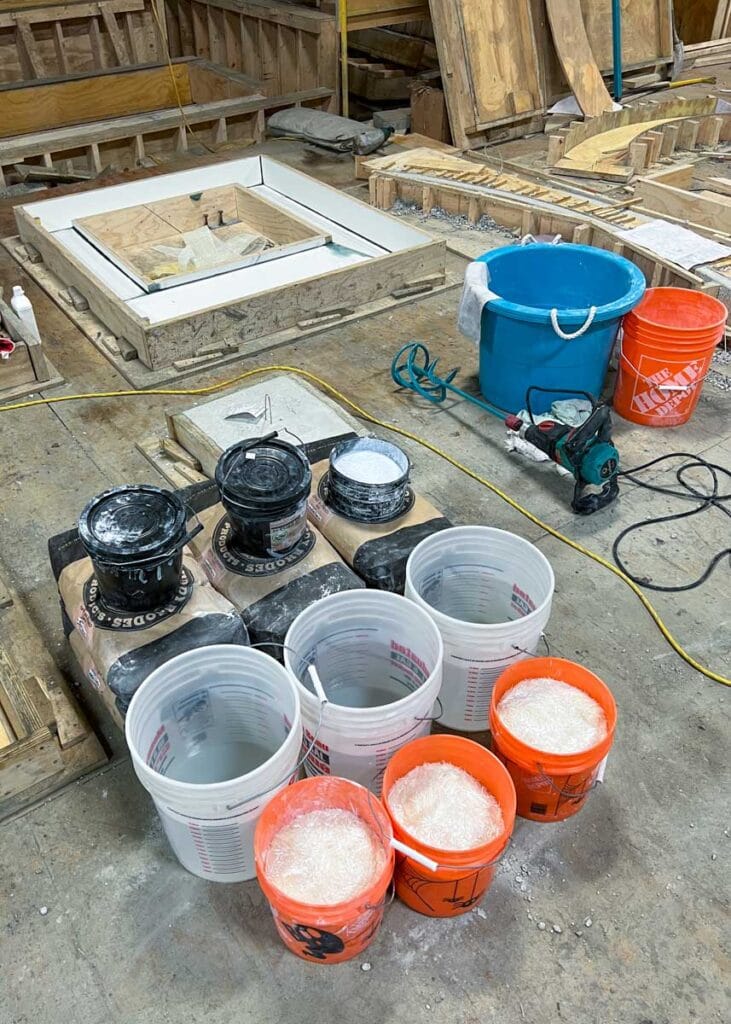
The wood/melamine form Central Precast fabricated for the surround.
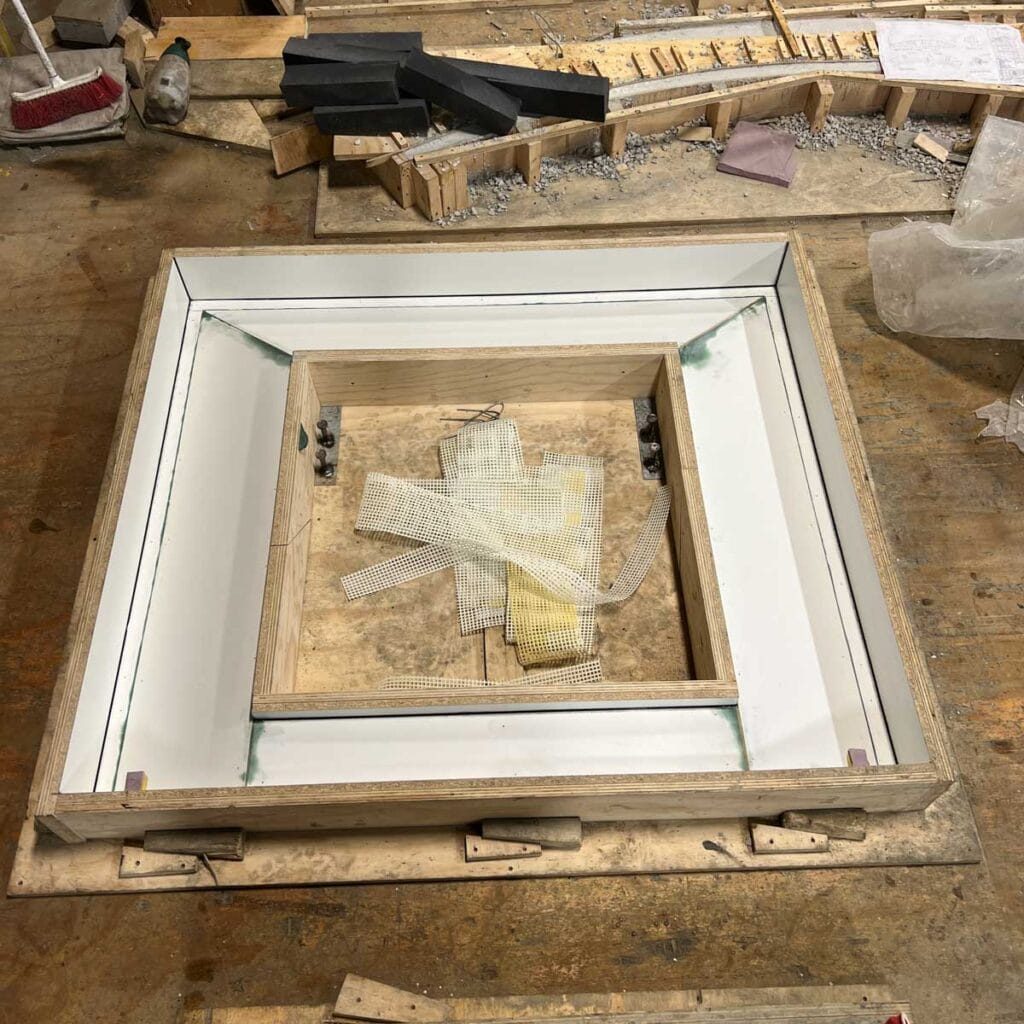
Midway through the casting, I realized that I didn’t plan the insulation or how thick I should make the walls for rigidity. Panicking, I ended up cutting strips of insulation as voids and filling up the form full of concrete, not realizing the implications it would have on the overall weight of the piece.
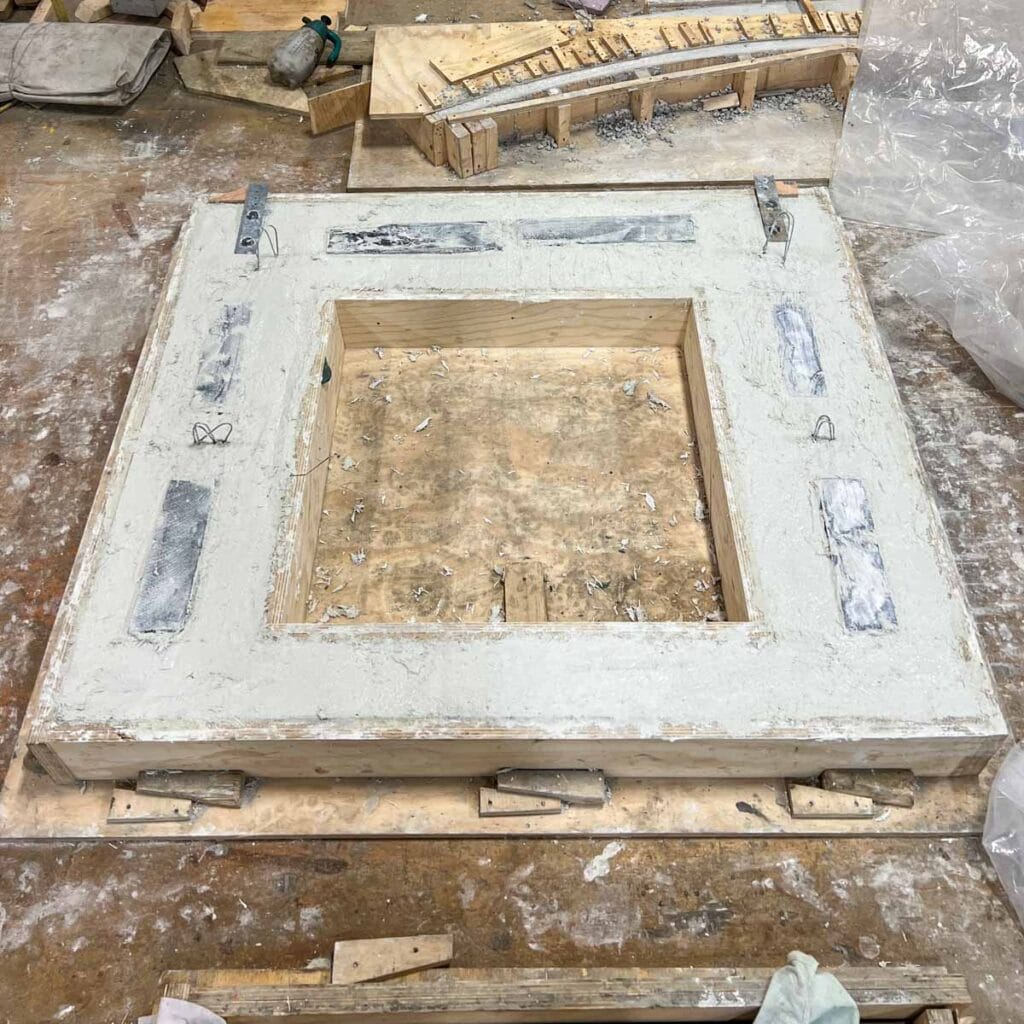
The big strip. I was nervous about this since my weight estimate was off and it was the first time I had cast in the steel lift loops on my own.
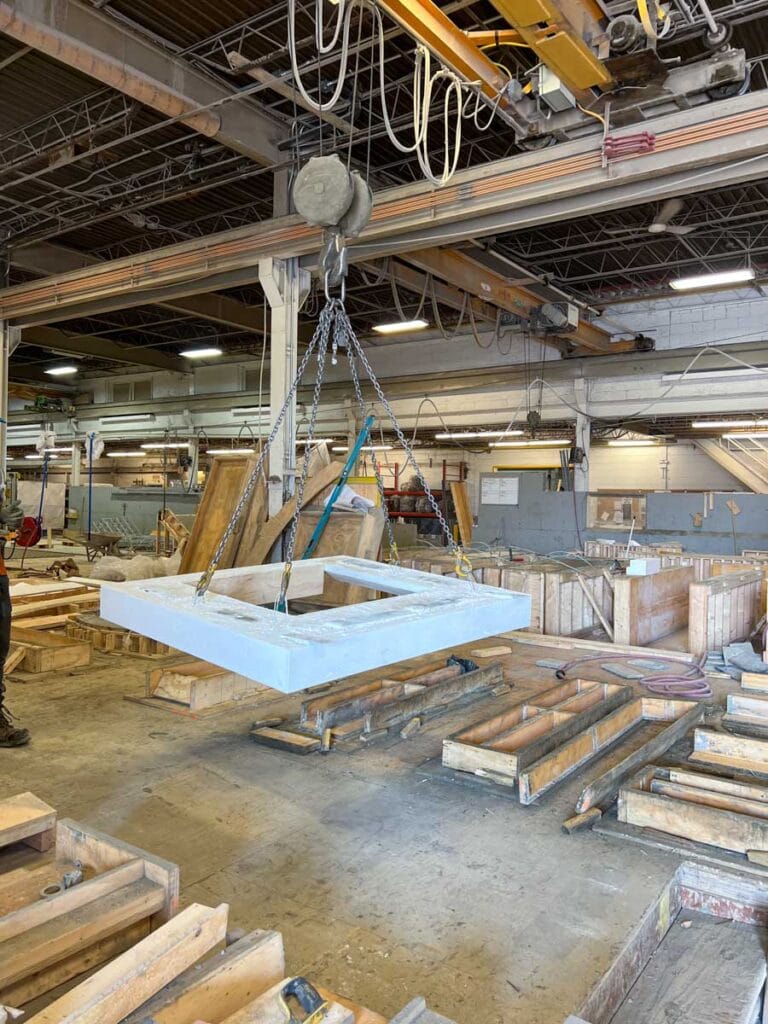
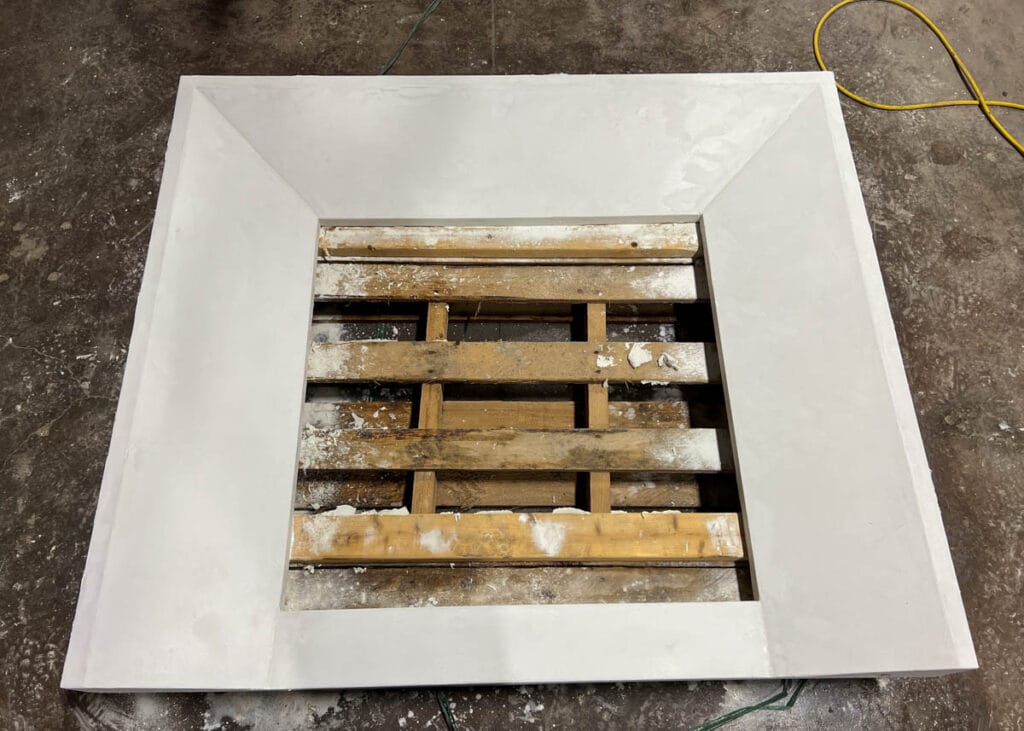
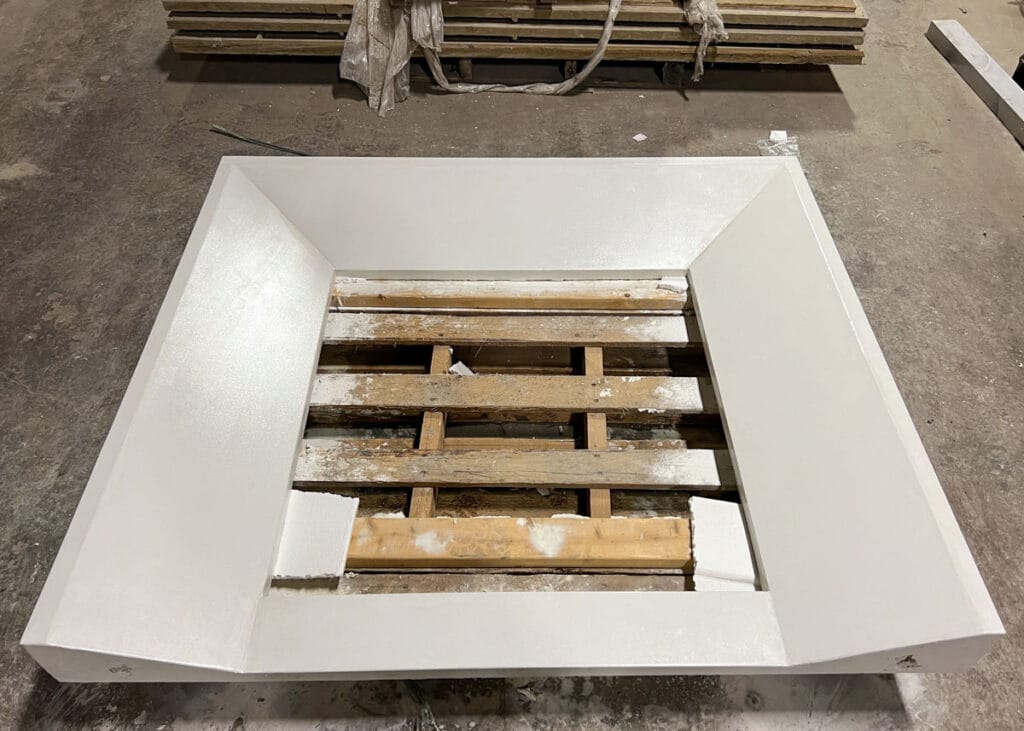
The day of the casting was 30 + degrees with the humidity. I was also by myself, mixing and casting. These were two of the first red flags. Since I had already committed to the first mix, I pressed on. As I started casting the face mix, I could tell it was taking too long and the face mix was already setting up/peeling. I quickly batched the backer mix and started casting more concrete into the form. On the stripping day, you could tell the areas that had peeled or the face mix dilaminated.
I didn’t want to scrap the piece, considering how much time went into building the form and casting it. I found a material called Bone Paste from Buddy Rhodes. With the help of Central Precast’s repair crew, a couple of layers of Bone Paste were applied and sanded in between layers.
The next challenge due to the top-heavy piece was flipping, strapping, and shipping. Luckily the roads were dry out and quite early in the morning when I drove the piece to my house.
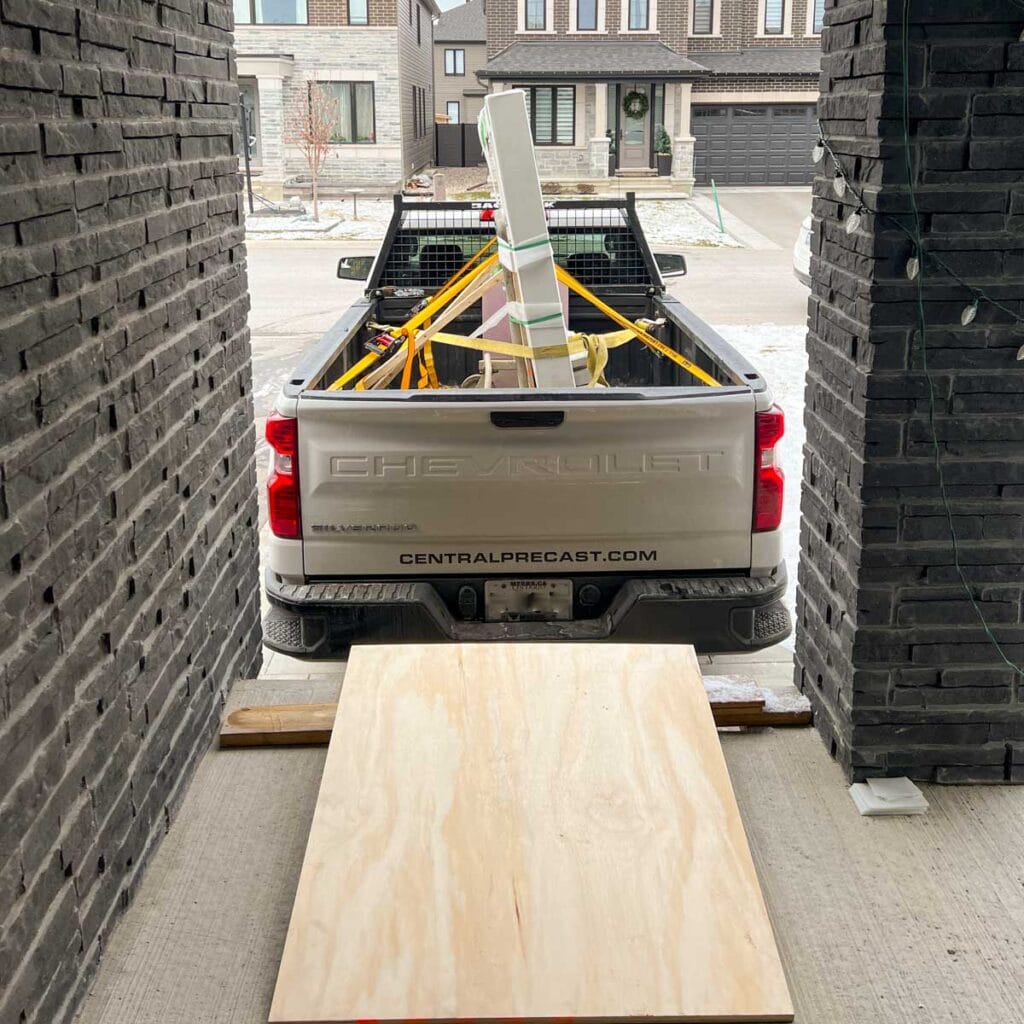
Trying to lighten the piece as much as possible by removing the insulation from the back of the piece.
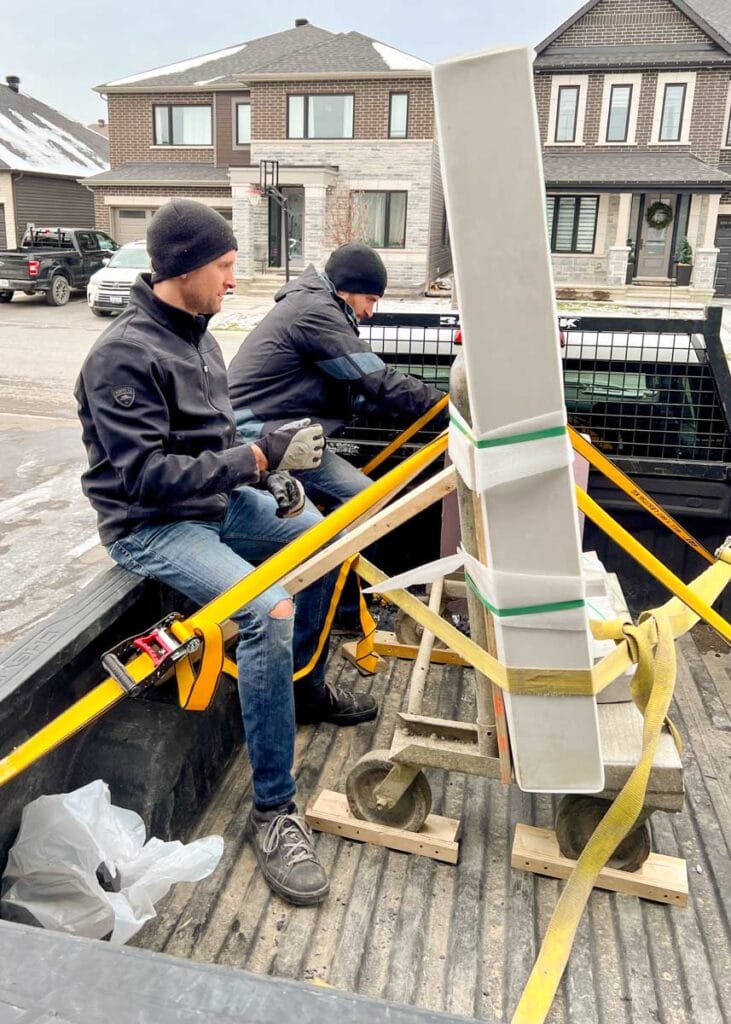
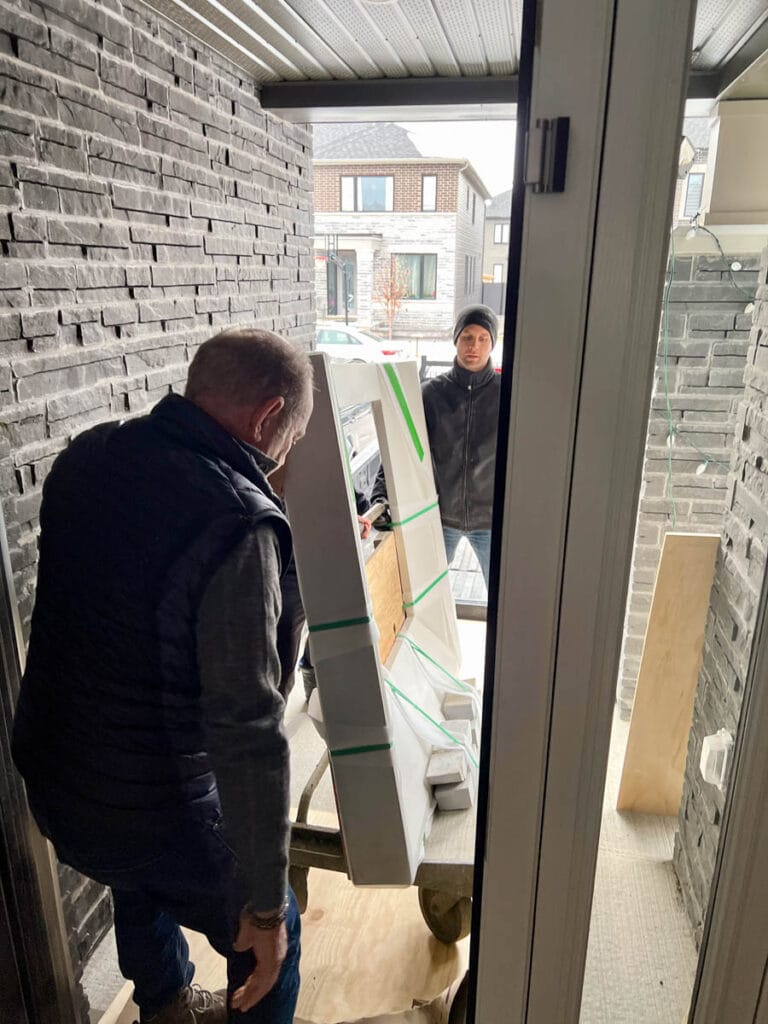
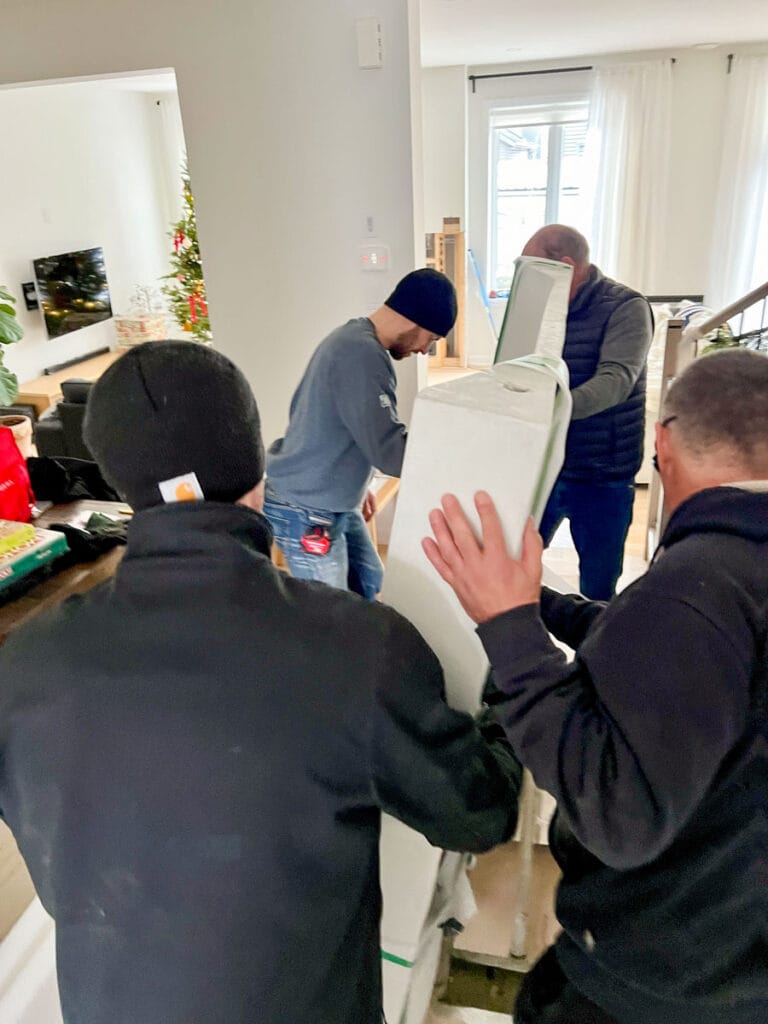
Now how do we get this trolley, and surround off the truck and into the house?
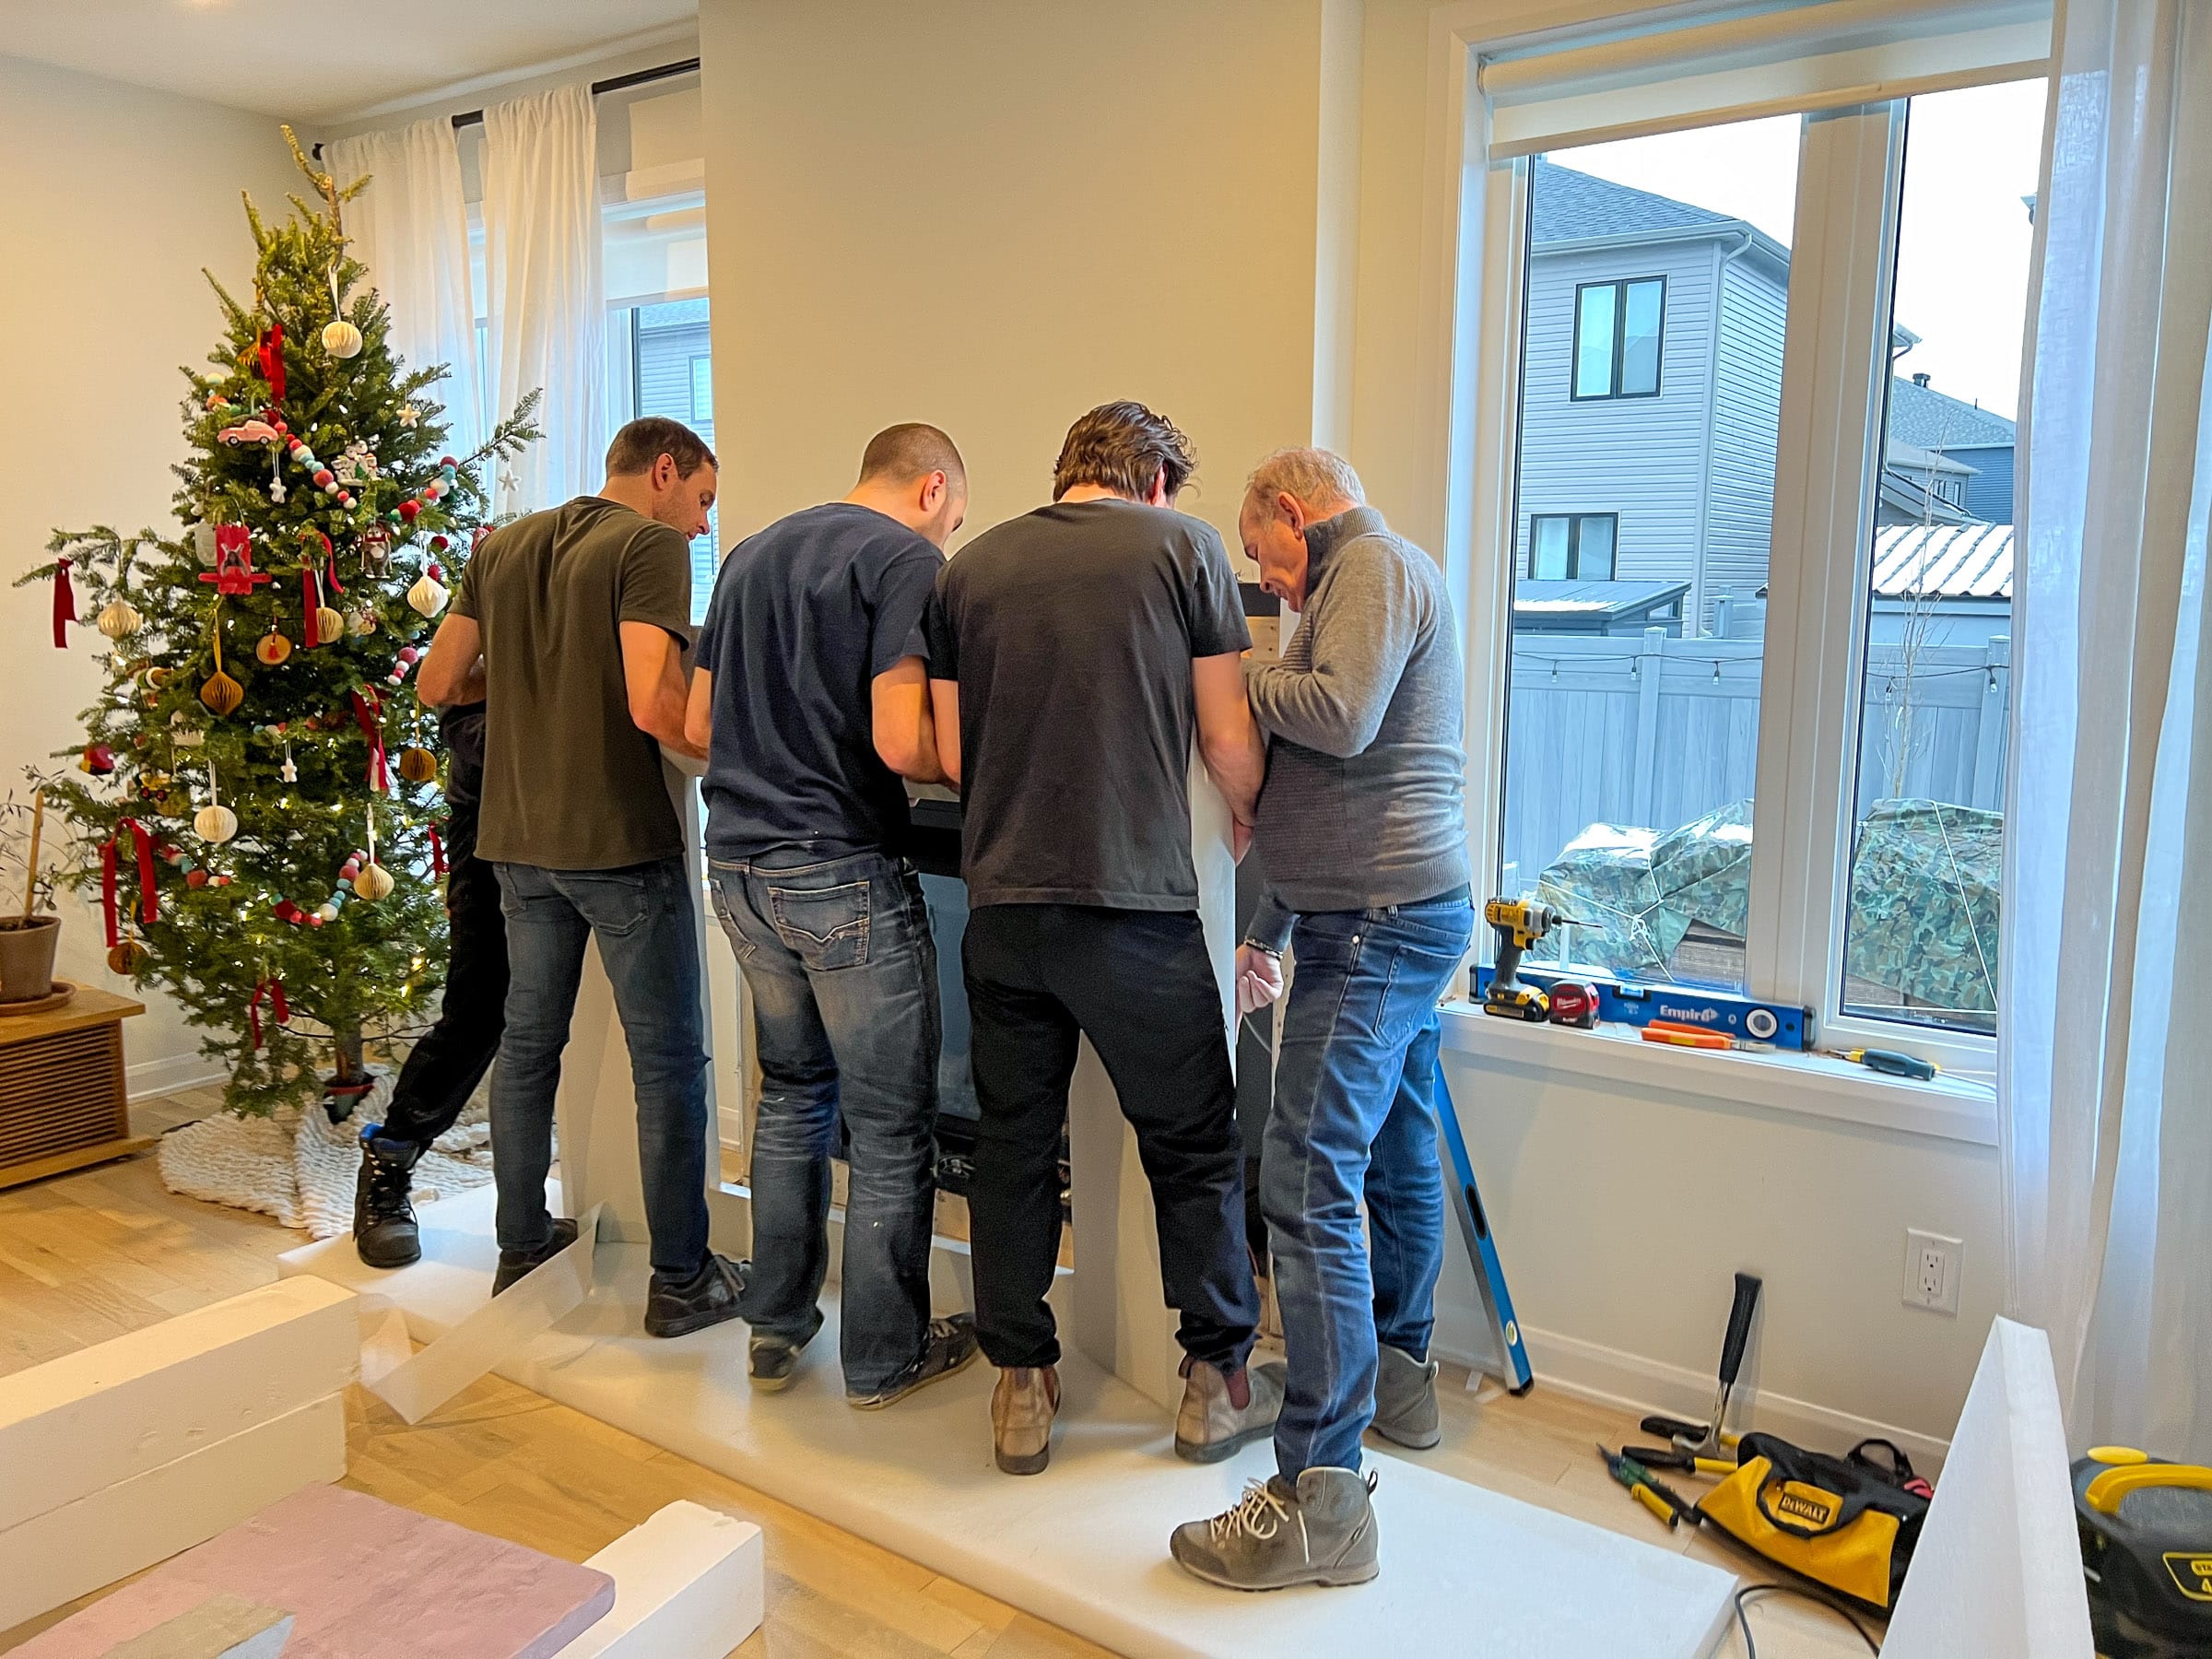
We had to figure out a way to flip the piece upright and then shuffle it into place. We built a quick styrofoam landing where we could rest the piece before lifting it into place.
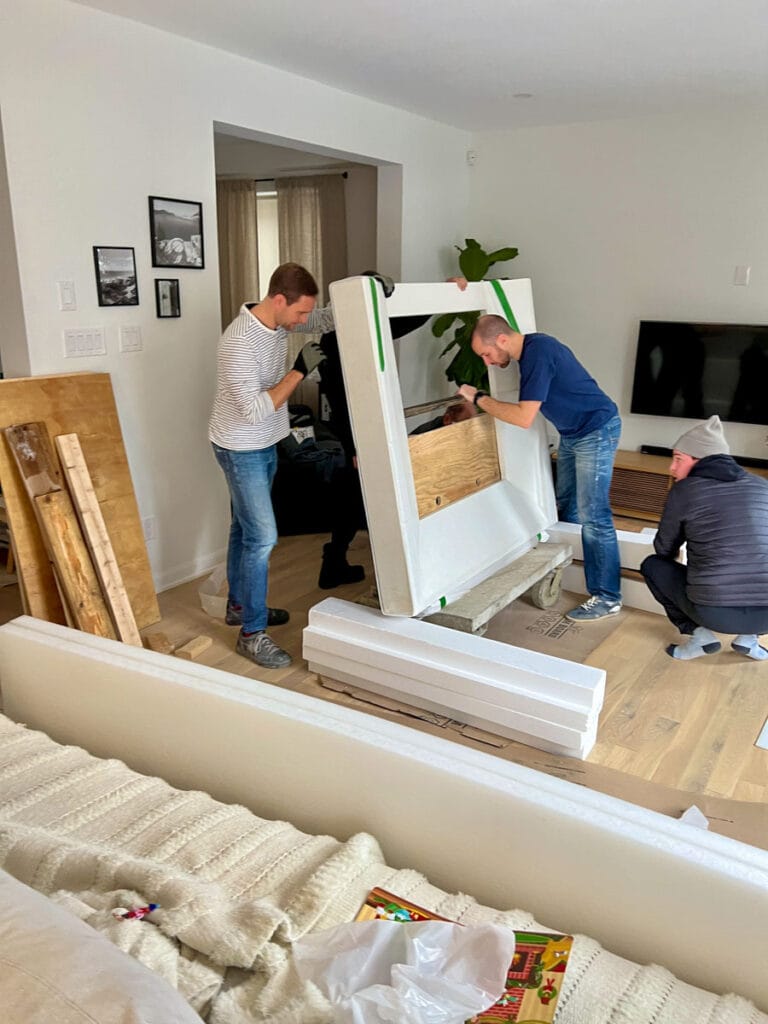
Contemplation, we were over budget on time, bringing the kids back into the house.
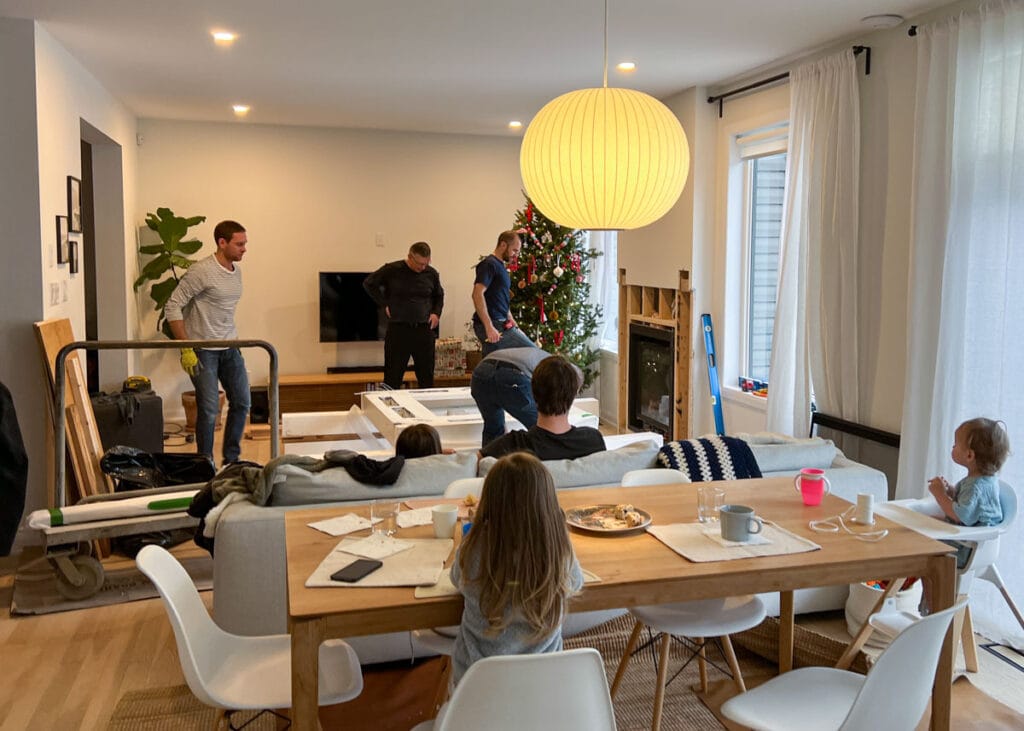
5 guys should do the trick to get this piece shuffled into place and onto the bottom connection.
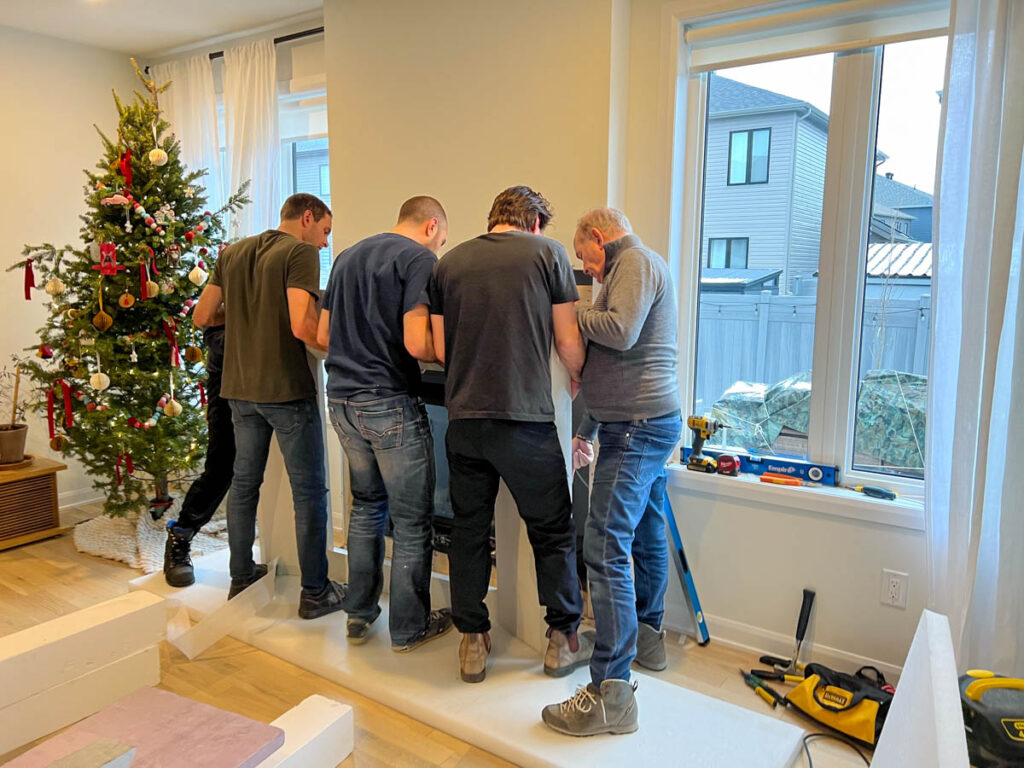
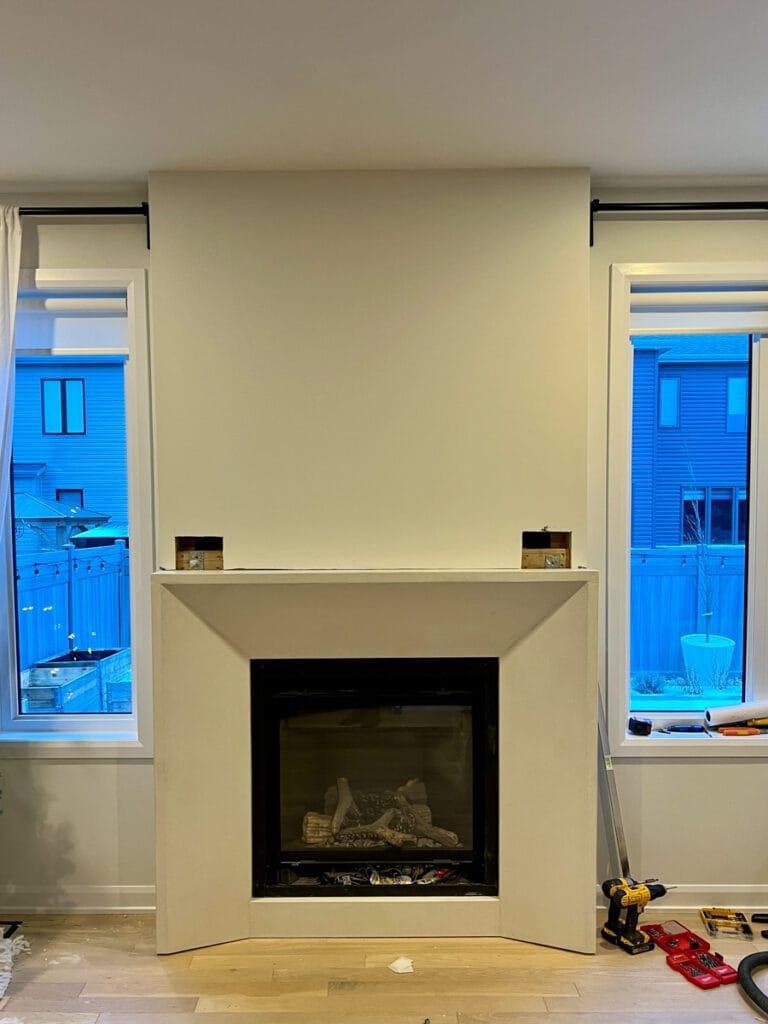
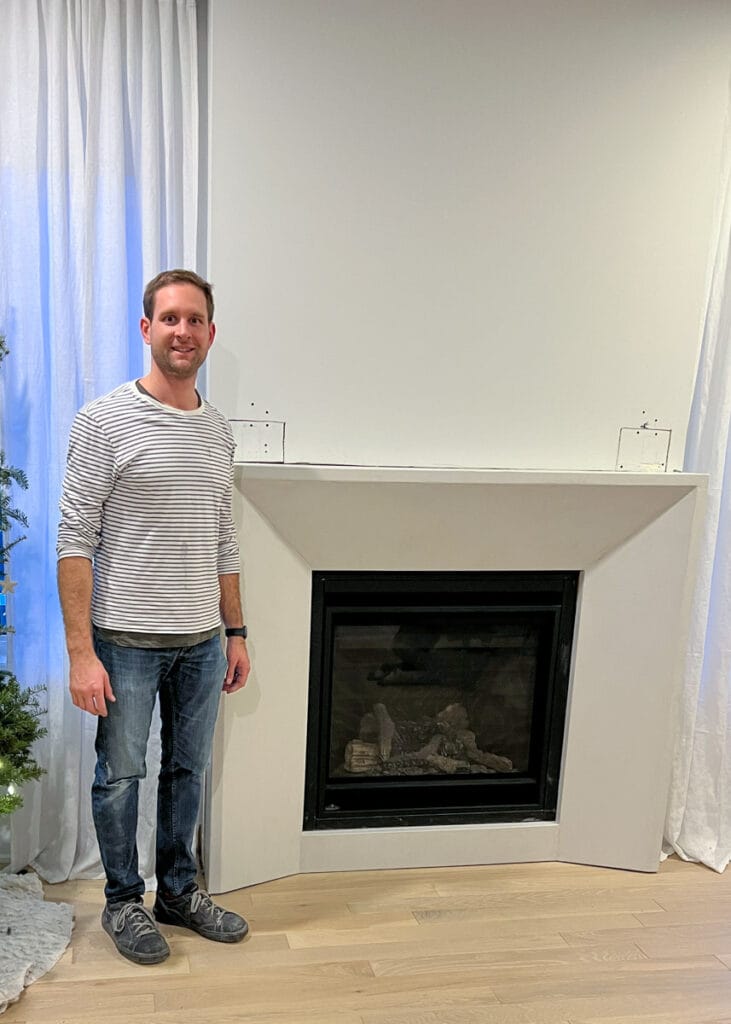
Voila, that was a struggle, but worth it! I managed to fulfill my 2-year promise of completing this fireplace surround, and my second promise of getting installed in time for Christmas.
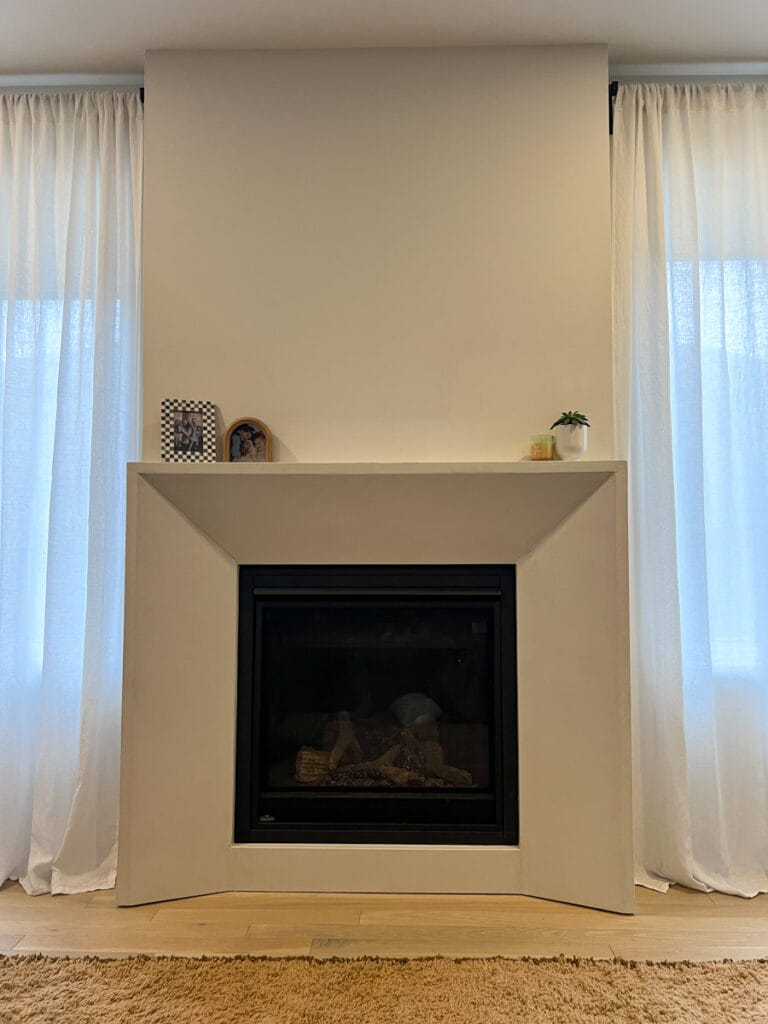
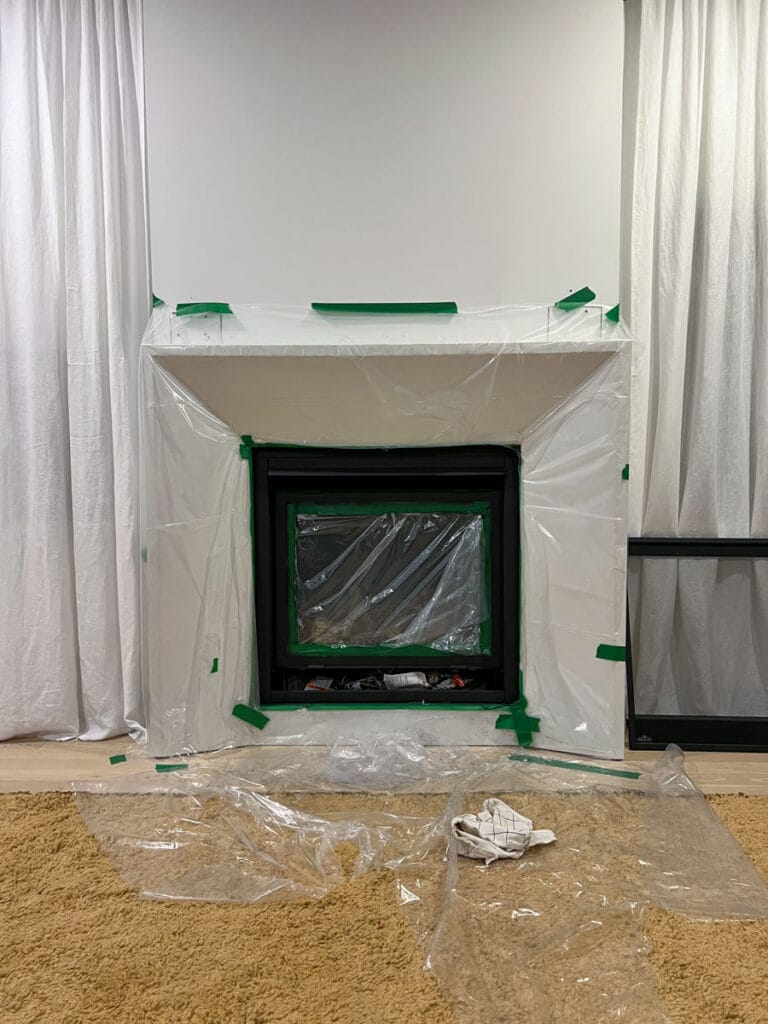
The drywall on the top and sides needed some finishing.
The black frame of the fireplace had sustained some scratches from removing the overall border. I probably should have painted it before putting up the surround, but just in case we damaged the frame further, I opted to wait.
The finishing touch wasn’t until August 2024, when I printed and framed a picture that I took in the Joshua Tree desert.
